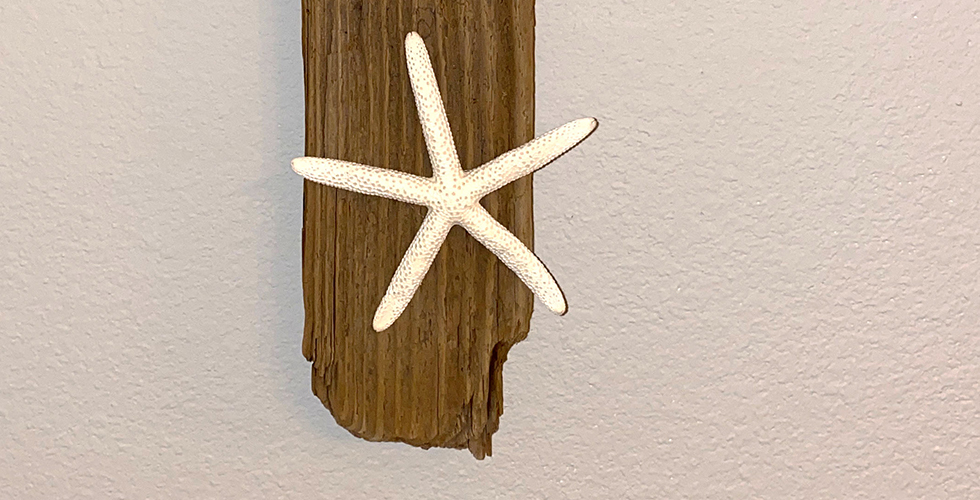
When we travel, we do so to experience the world and create memories. When I travel, my favorite way to bring these memories home is by creating my own travel souvenirs, like my DIY “Father’s Day” nature sculpture.
DISCOVERY:
It was Father’s Day 2009, and our family was vacationing down on Mustang Island, Texas, when one of our daughters ran from the Gulf’s waters carrying this piece of driftwood.
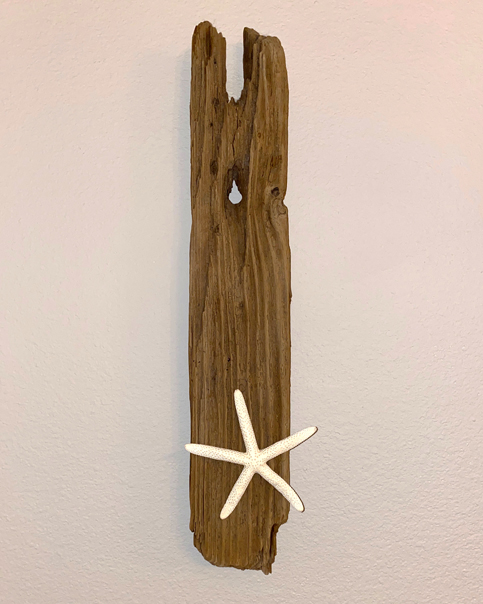
As we admired her find, we noted sand deep in the crevices of the wet wood, with signs of microbes living inside and the smell that naturally accompanies such life.
After we finished examining the driftwood, she went to throw it back out to sea when I realized what a beautiful, symbolic souvenir this would be for this Father’s Day.
This is an important point regarding handmade souvenirs…
you MUST keep an eye out for items that “speak” to you.
If I didn’t quickly see the symbolism of this driftwood, this extraordinary piece of art would not be hanging in our living room.
CONCEPT behind my DIY Father’s Day Souvenir:
The piece of driftwood symbolizes my husband, the one we were celebrating the day our daughter found it.
Now I needed something to symbolized our children and me.
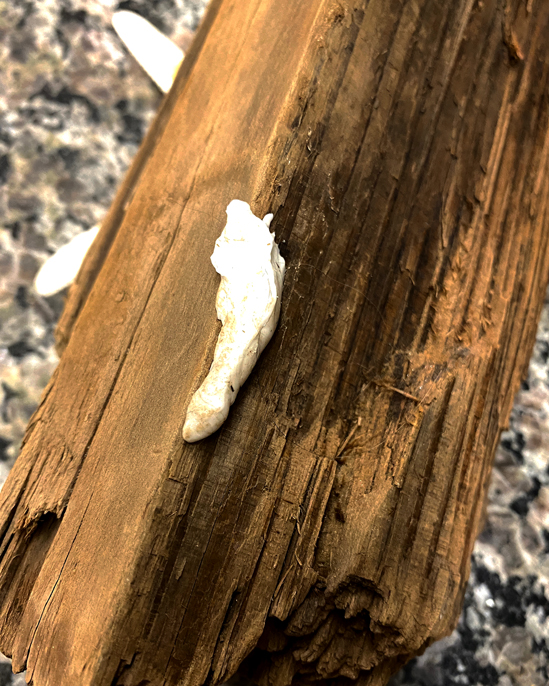
Since we are a family of six, I immediately thought of a starfish, with its five points, as a perfect addition. So I went to the local shell shop and purchased the white starfish.
STEPS to Create Your Own Driftwood Souvenir:
- Find a piece of driftwood. Any side will do, as long as you can manage it, and it will fit where you ultimately want to place it.
- Soak (submerge) the driftwood in a bucket of water with bleach for about three to four days. This will kill any microbes or bugs that may be within the wood. I used a 1:10 ratio of bleach to water (it is also good to refresh water each day).
- Once finished bleaching, let the driftwood dry in the sun.
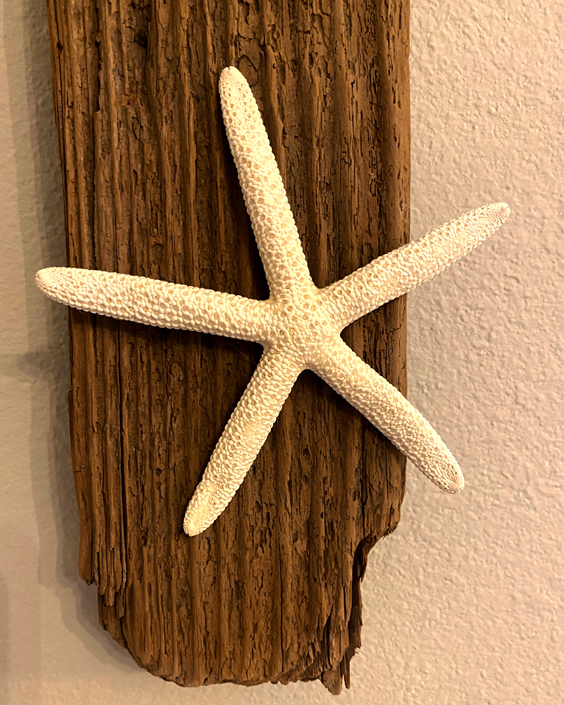
4. To attach the star to the wood, I used a small dab of E6000 glue. Note: attaching the star is a critical part of the design process. You want to test placing the starfish on the wood to find the best balance with the size of the driftwood. There is no formula for this – trust your eye. Once you determined the placement, glue it down.
5. To hang the sculpture on the wall, I drilled a small hole in the back of the wood. Note: if you will not be using hardware like I chose not to, be careful to select a location on the wood to maintain its balance when it hangs on the wall. My piece of driftwood had another challenge because the back is actually a corner. This meant I had to drill my hole on the edge, as you see below.
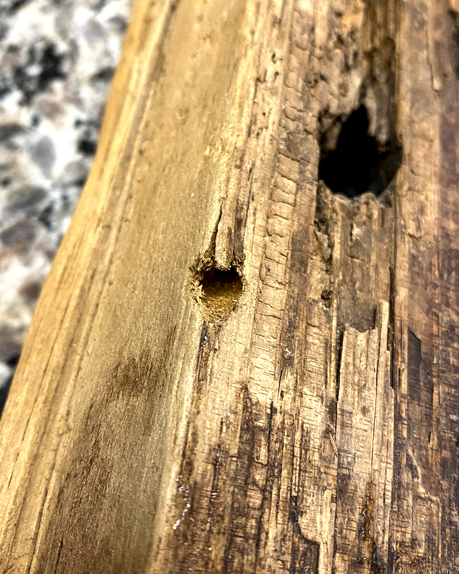
Because of this placement, it also became necessary to put a little tacky tac on the bottom to help keep it balanced as it hangs on the wall.
Not a family of six?
Not a problem! This project could be equally beautiful with seashells attached to the wood, one for each family member. For example, instead of applying the white starfish, I could have asked the kids to find a favorite seashell on the beach to glue to driftwood. It would be equally beautiful. Just keep in mind the size of the shells with the size of the wood.
Happy Trails,
Mrs. Padilly
Discover more from Mrs. Padilly's Travels
Subscribe to get the latest posts sent to your email.
